The making of this blog, part 1
Why I chose to make this site and some initial thoughts.
2022-10-06python web making_of diffraction py4dstem
As someone who likes computers and programming, I've been interested in making a personal site for some time, but was never really happy with the options that were available. I didn't want to just buy some template that someone else had made and fill in some boxes with text, but rather understand the whole process of how computers talk to each other.
Previously, I had tried a static site generator (Jekyll) before, but that felt relatively limited and left me with some open questions, like how does HTML and CSS work and what do I do if I want dynamic content? I had also tried fruitlessly for a while to make a NextJS app, which has what seems like a great combination of static site generation as well as responsive/React-like components. This ended up being too complicated. To someone with no web dev experience, Javascript and diving into the deep end w/ a React-like framework was just too difficult.
Much of my day job as a researcher is spent using Python, and I'm pretty comfortable in the language. For this reason, for the latest (current) attempt, I decided to go with Flask, a Python based framework for the web. It is described as "lighter" than the other main Python framework, Django, and therefore I hoped it would be simpler. It has the ability to turn Markdown files into blog pages, but also run Python code in the backend, which was a requirement for what I wanted the site to be able to do. With the main framework decided, I started piecing together different blog posts and tutorials, in order to begin to make my site.
My goals were initially simple, and fairly naive. I wanted to have a home page, an about page with a description about myself, a blog section, with posts, including tags and dates, and a section for simulating TEM selected area diffraction patterns.

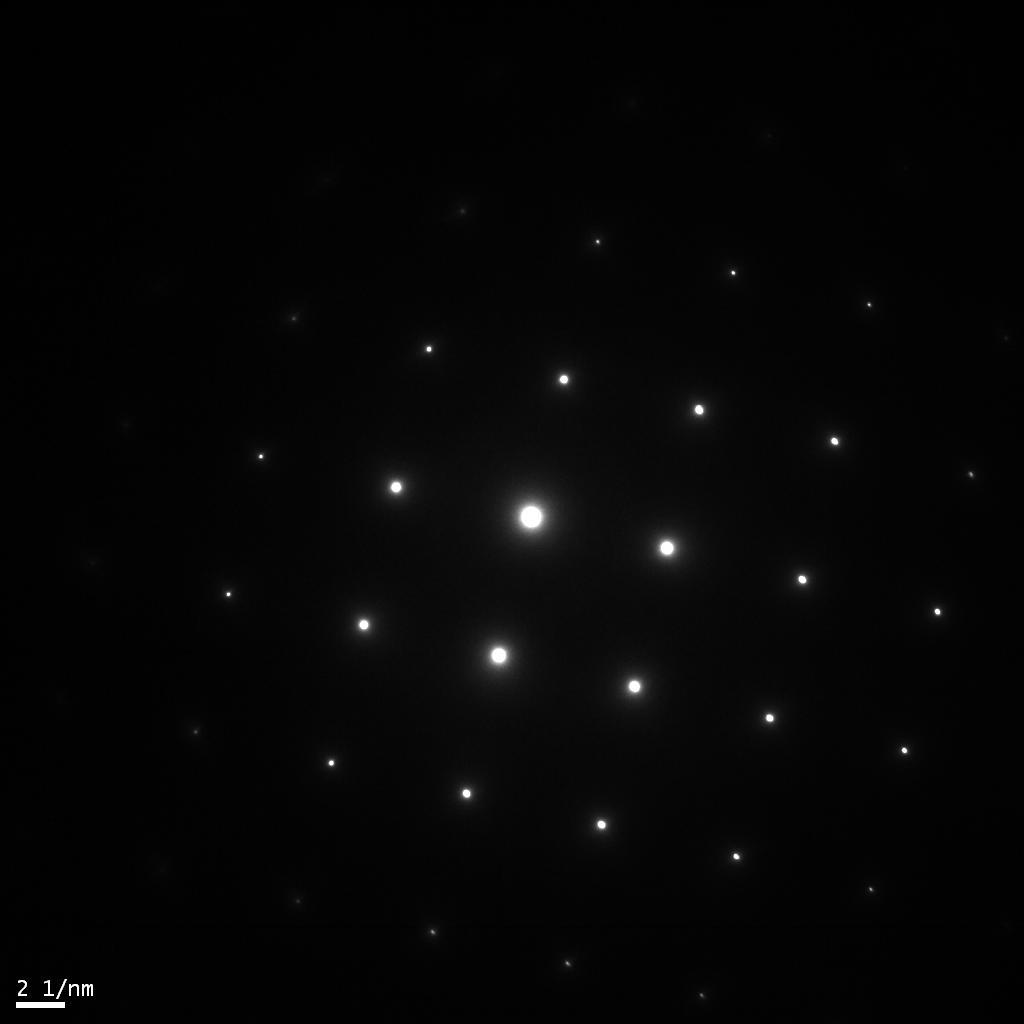
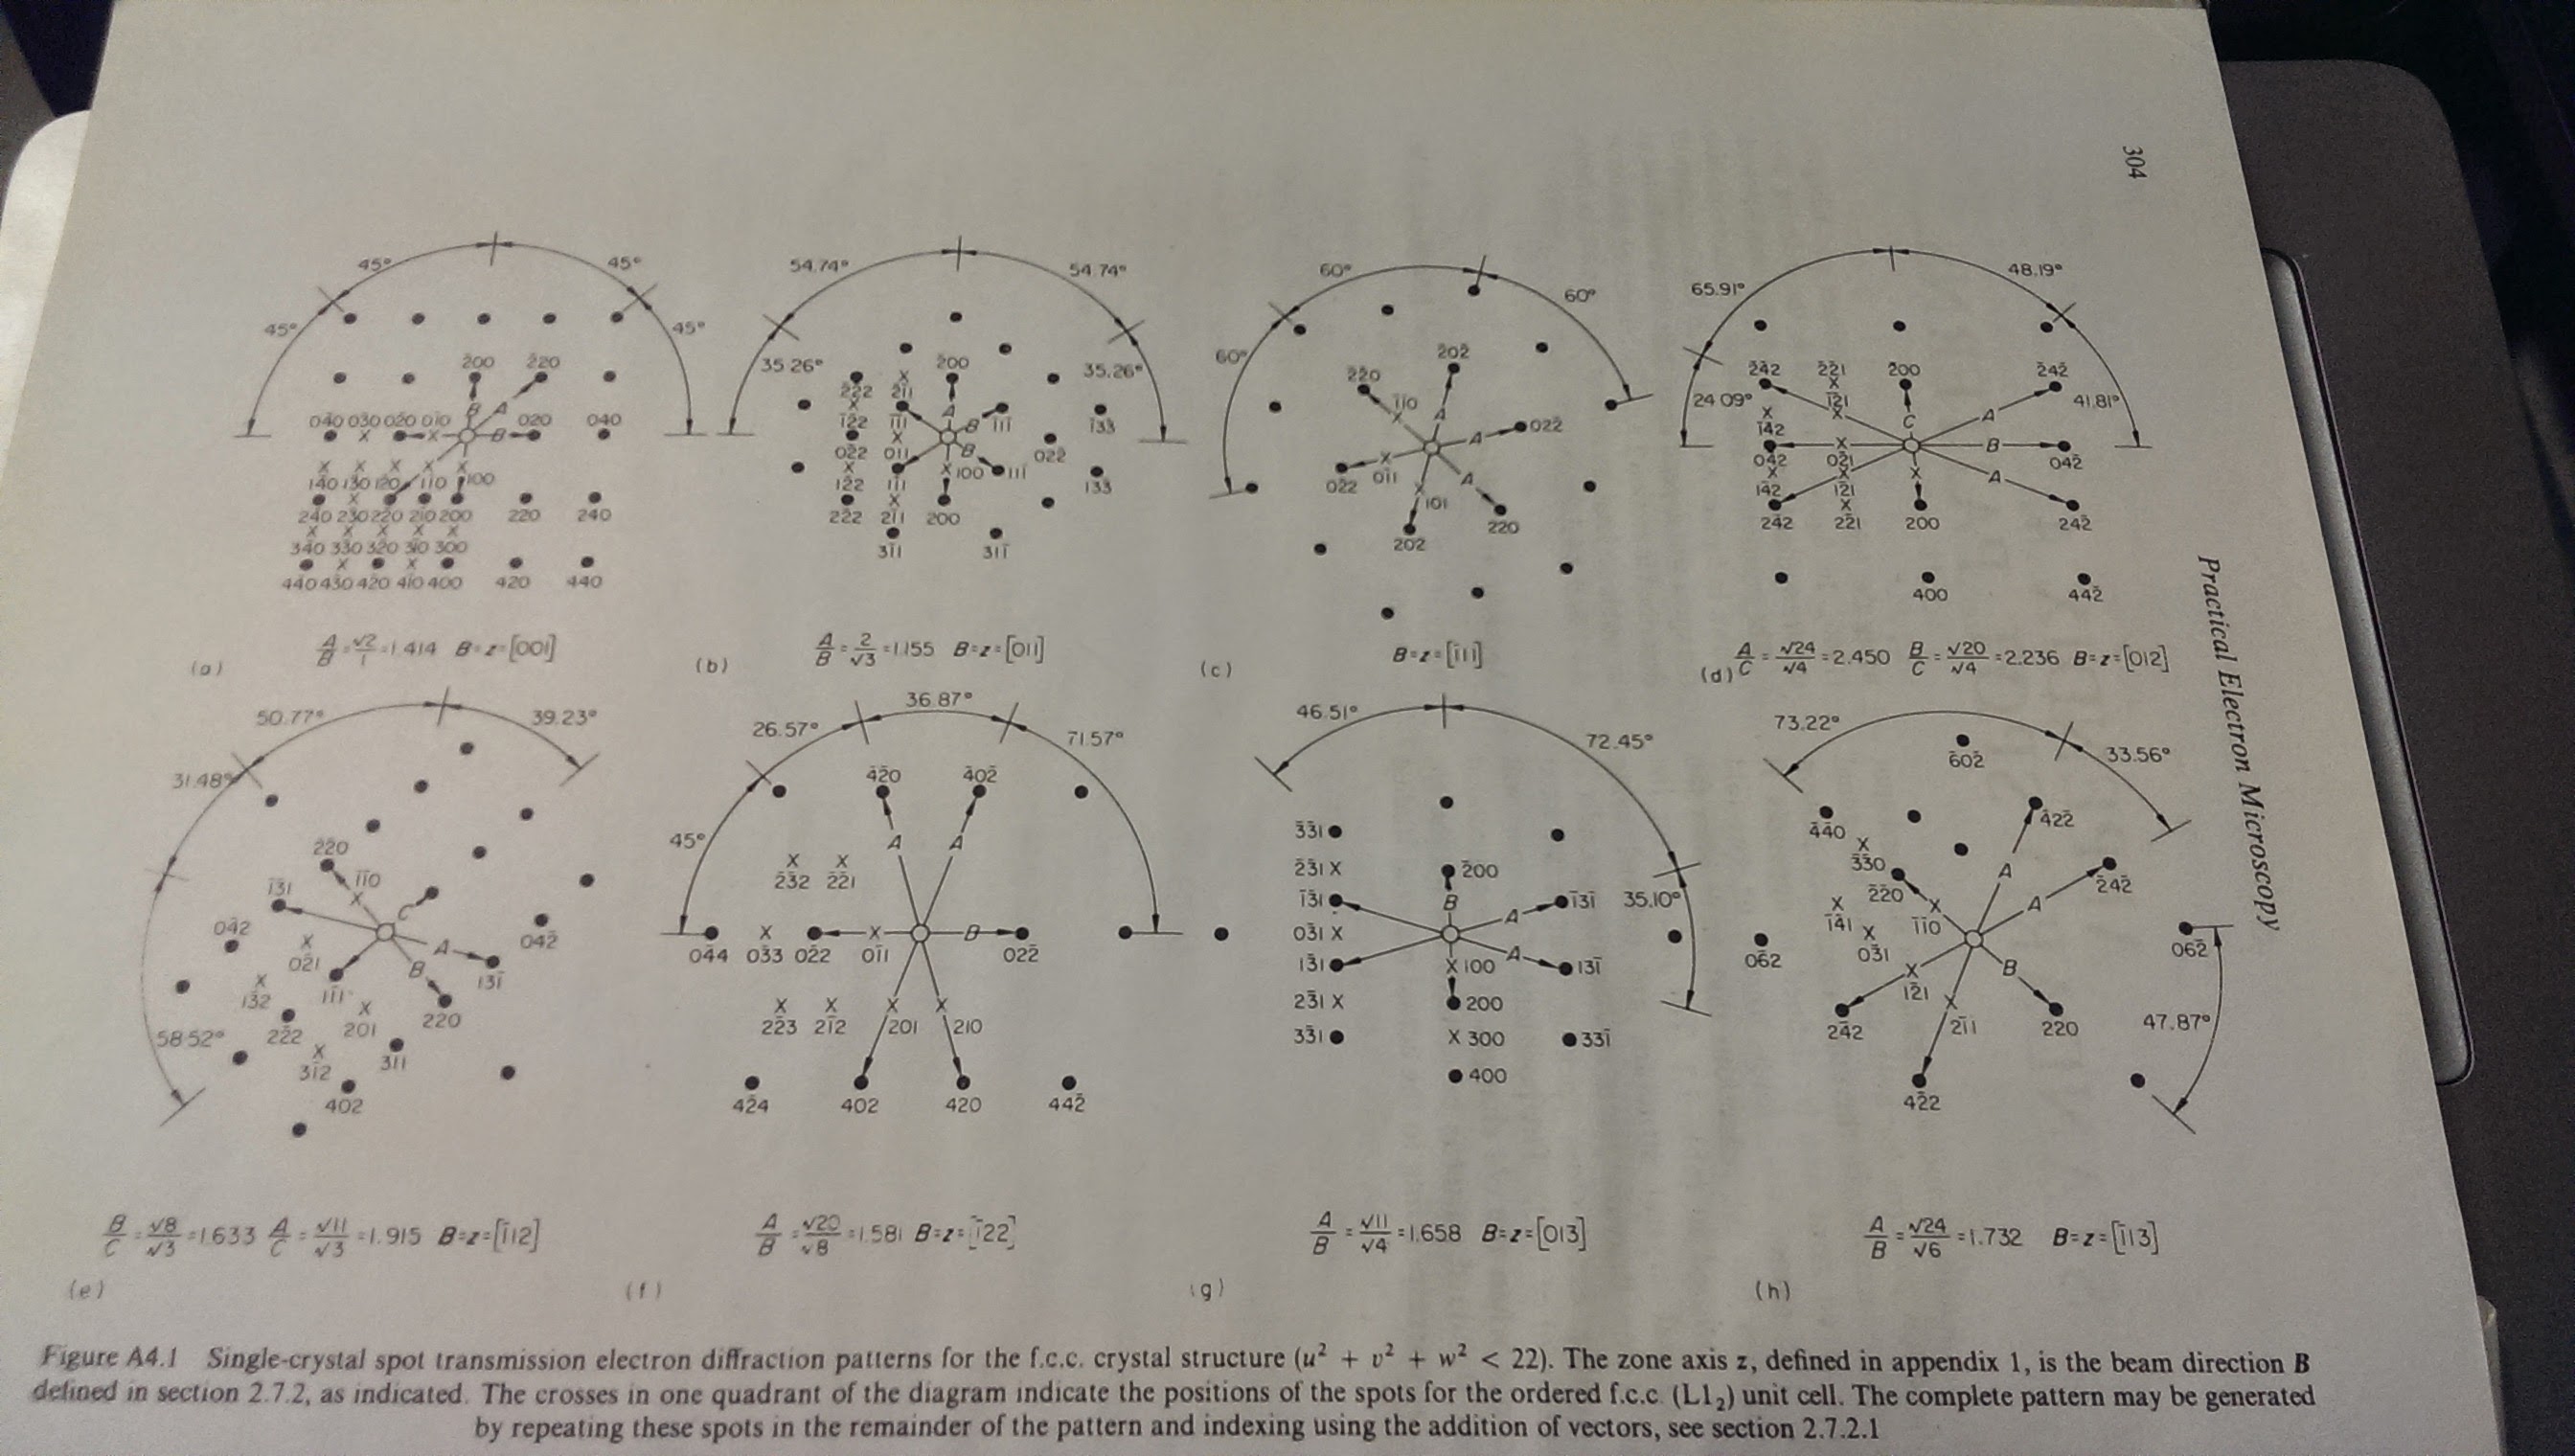
The simulation of diffraction patterns was key - there used to be a website called TEMMaps (I think) that was invaluable to me as a graduate student. Often, when you're at the electron microscope, you have a crystalline sample inserted, and you want to know what orientation you are in -- essentially, what direction are you looking at in the crystal? The most common way of determining this is to take a diffraction pattern. However, you have index the diffraction pattern, i.e. calculate or compare to tabulated values the location of the various peaks in your image to determine which of the orientations, or zone axes, you are at. Some of these patterns are tabulated, an image can be seen below, but TEMMaps gave you the opportunity to just type in a crystal structure, an orientation, and it would simulate the diffraction pattern. By simply comparing to what you had on the microscope screen or camera in front of you, you could quickly determine if you were in the right zone axis.

However, this site was shut down about 5 years ago, and I have never found a good replacement for quick, reliable diffraction pattern simulations to be used while you were operating the microscope. Other tools exist - there is a whole family of paid and open source software simply for crystallography, but they require either expensive licenses, or to work in Python or Matlab, which is often a pain to set up while you're trying to figure out what is going on in the microscope. They also are much more complex than what is needed in the moment - all you want is a picture to compare with, not the whole wealth of information that the other tools can provide, not to mention you need to find the correct input file that accurately represents your crystal system.
The goal was therefore to make this much simpler, and bring back what TEMMaps had provided, with some enhancements. It would utilize py4DSTEM to download any material that is in the Materials Project Database and simulate a diffraction pattern from a defined orientation. The results, both what the crystal looks like in real space, as well as the diffraction pattern in reciprocal space, would be shown. With that in mind, the site was started.